Since I have super busy work weeks, I tend to have super boring breakfasts, or at least the same thing every day. Muesli with nuts and yogurt, tasty but dull. So at the weekend, I like to have an extravagant brunch, sometimes I go out but mostly I cook at home. Last weekend I made a dutch baby, which is a cross between a pancake and a Yorkshire pudding and is so tasty!

So here is the recipe, I would suggest serving it on its own dusted with icing sugar or with spiced poached plums.
Ingredients
-
125ml of milk
-
3 eggs
-
1 table spoon of sugar
-
1 teaspoon vanilla essence
-
1 teaspoon ground nutmeg
-
65 grams plain flour
-
3 tablespoons butter
Recipe (prep time 10 mins cook time 25 mins)
- Preheat the oven to 200 degrees centigrade.
- Sift the flour and the butter into a bowl.
- Mix in the whisked eggs one by one trying to keep the mixture as smooth as possible.
- Slowly whisk in the milk and the vanilla essence until a smooth mixture is formed. You want this to be a very smooth batter.
- Put the 3 tablespoons of butter in a fixed bottomed pie dish (about 2-3 cm deep and preferably metal). Put the dish in the oven and watch until the butter has melted.
- Once the butter has melted add the batter to the butter filled pie dish and bake at 200 degrees C for 20 minutes, or till puffed up and golden.
- Cook for a final 5 minutes on 150 degrees C.
- Remove from the oven and liberally dust with icing sugar! Serve on its own or with stewed fruit or custard.

So This is a recipe for tomato and Lentil soup, it has been my favourite for as long as I can remember, I used to asked my Dad to make it all the time, and because it is so simple it was one of the first things I learned to cook. It’s quick it’s simple, it’s mostly store cupboard ingredients and it’s so damn tasty!
tomato and Lentil soup
prep 10 mins cook 30 mins
Ingredients
- One medium onion or two small onions, finely diced.
- 1 cup red lentils (aprox 250g)
- 2 tins chopped tomatoes or 1 tin +4 chopped fresh tomatoes and a cup of tomato puree
- 1 litre veg stock
- 1 tbsp thyme
- Salt and Pepper to taste
Steps
- Dice the onion and fry in oil until translucent, then season with salt pepper and the thyme.
- Add the tomatoes and stir, then add the stock and the lentils. (You could pre soak the lentils in the stock while the onions cook it’s up to you).
- Bring everything to the boil then turn down low and simmer for 30 mins, stirring everything 5-10 minutes.
- Taste and season if needed (to add sweetness you could at 1 tbsp ketchup)
Enjoy It’s that simple
Hey all trying to get back into this, but sadly will probably fail as life gets in the way. Quick Major update: I am now a Dr (PhD) whoop whoop and I am living in Berlin, a city I absolutely adore. However it also appears to get as grey and miserable as the UK in autumn, so today after feeling particularly cold I decided to make a warming soup. It’s an updated twist on the AVOCA cauliflower cheese soup I love, so let me know what you think.
Spiced cauliflower cheese soup
prep 10 mins cook 30-45 mins
Ingredients
- One medium onion or two small onions, finely diced.
- Three medium potatoes finely diced.
- One clove garlic, crushed
- A full head of cauliflower.
- Half liter of chicken stock
- Two table spoons creme fresh
- About 30g cheese or more grated.
- As much hot sauce as you want
- Diced smoked bacon
Steps
- Fry off the bacon till crispy in a stock or soup pan and set aside. In the bacon fat sauté the onions over a medium heat until they are translucent and then add the garlic and sauté for a further 2-3 minutes.
- Add the finely chopped potato to the onions and garlic, and mix so coated in the fat/oil, sauté a little and season with salt and pepper. If you want spicy soup this is when you add your hot sauce and let it simmer/ cook a little.
- Add the stock to the potatoes and then add the chopped cauliflower. I had roasted my cauliflower before hand but it didn’t really add anything so I would just chop it and add it. Bring this all to the boil and then simmer for 20 mins or until veg is tender.
- Add the creme fresh and stir till well mixed, if you prefer a smoother soup blend half the mixture now, otherwise leave as is. Cook another 5 mins.
- Finally add the grated cheese and bacon bits, and stir till cheese is melted. Taste and further season if needed, then serve.
Enjoy
Sorry for the lack of post work got a bit hectic and then I jetted off to visit my sister. New post soon I promise. Can you guess what it’s about?

What am I?
This one is definitely not a low fat or diet recipe, it is indulgent!
So unless you have been living in a cave, or have taken the shunning of valentines day to the point where you deny it happens, you’ll know it was valentines day last Thursday. This year, I decided to forgo cocktails with the girls because we’ve scattered to the 4 winds, Germany, US and China, and cooked a valentines dinner, because I love to cook, also any excuse for steak!
I’m just going to give you my recipe for peppercorn gravy, because people like to cook their steaks differently and though these were extra tender possibly due to the garlic and time butter, you don’t need another person saying room temperature steaks, dry, hot pan, turn frequently, let it stand for at least 5mins after, it’s out there already. I’ve made this gravy a number of times, and it’s always got a good reception, the comedy soc guys seemed to enjoy it when I cooked it for steak night and here is what the boy thought.
“That steak was so good, one of the best I have ever had, I mean wow, my only worry is that after that other meals just wont taste as good.”

The classic cuts of beef taken from delicious magazine
Creamy Peppercorn Gravy
- 1 pint of boiled water
- 2 beef oxo cubes or possibly a beef gravy pot.
- The juices from the steaks
- Double cream
- Ground black pepper or Crushed pepper corns
- plain flour
- butter
Not exactly a heart friendly list there, with double cream and butter, but okay as a treat once in a while as long as you don’t eat it out of the pan with a spoon like me.
- This sauce has a Roux as a base, so start by melting a knob of butter approximately 25g-50g in a non stick sauce pan over a low heat. Stir in the flour to make a smooth paste, start with a tbsp and then add a little at a time until you have a smooth paste. Keep this on the heat stirring it a little until the flour is cooked.
- Take the roux of the heat. Dissolve both the beef stock cubes in a pint of boiling water. Slowly add the stock to the roux, add a little and stir until you have a slightly thinner smooth paste, continue adding a little and stirring till smooth until all the stock is mixed in and you have a light brown thickish sauce, with no lumps.
- Return this to the heat to thicken and add as much pepper as you like, I like lots but I know some prefer less.
- As you take the steaks out of the pan to rest, add the cream to the sauce about 1/4 of a tub or more if you like a creamier gravy. Bring this gently to the boil, and once boiling remove from the heat, and at this point add in the meat juices. Taste and season if needed.
Serve with your steak, I like lots of Gravy but I know others who don’t like loads, so just have a little or as much as you like. Now enjoy!
Hope you all had a lovely pancake day and an enjoyable valentines day. Sorry for the Lack of posts, I haven’t cooked in a while but I promise there will be a bright and vibrant post about jambalaya soon and should be cooking again soon! If there is anything you want to see on here don’t hesitate to ask me about it. In fact I welcome submissions, so please comment on this post to let me know if there is anything you want me to cook or such like.
So still on the low fat and healthy food in this house, but it’s working out quite well. Last Thursday I had a pretty bad day, nothing in particular just one thing after another not quite working out, so by the time the end of the day came round I was ready to hop on a train to Manchester to see the boy rather than go home. But I went home, and well there is nothing like the smile of a 1 year old to cheer you, nothing that is except CURRY.
I love curry, if you know me personally you’ll know that and if you’ve read back in my blog you’ll have an idea too. I love the depth of flavour and the spices, and all the little bits that go towards making the meal. Take away curry though delicious is not know for being particularly healthy, well that’s where the Hairy Dieters and a well stocked spice cupboard come in. Thankfully one of the people I’m staying with studied in Bradford so we have a well stocked spice cupboard. The Hair Dieters recipe is for a Korma and I’m not really a fan of Kormas I think they are a bit sweet and not spicy enough but even at a glance I could tell the Hairy dieters recipe was going to be full of flavour and depth, which would be more than enough to make up for the lack of heat! (note: This is actually a rather spicy Korma)
Cooking this dish really cheered me up, and eating it got rid of any remaining blues. This is a fab dish, and I’d highly recommend it as a replacement for your take out. Apologies for the lack of photos, it smelt too good to pause and photograph.
Warning: The clothes you wear to cook in will smell of curry after you make this, and though it is a fabulous smell it’s not idea for work clothes, or your lazy sunday hoodie (it will make you want curry constantly)
Chicken Korma
Ingredients (serves 4) 294 calories/portion minus rice
- 600g of skinless chicken either breast or boneless thighs, with the fat trimmed off
- 2 large onions, chopped finely
- 6 tablespoons of low fat yogurt
- 1tbsp sunflower oil
- 4 garlic cloves peeled and chopped
- 1-2 tbsp of very lazy ginger or a large knob of fresh ginger peeled and grated
- 10 cardamon pods, remove seeds and grid them discarding the pods
- 1tbsp ground cumin
- 1tbsp ground coriander
- 1/2 heaped tsp turmeric
- 1/2 tsp chilli powder (go up to 1 tsp if you like it a bit hotter)
- 1 bay leaf
- 4 whole cloves
- 1tbsp plain flower
- 1-2 tsp sugar depending on how sweet you like it
- 1/2 tsp ground salt and extra to season
- 300ml cold water
- 3tbsp low fat creme fresh
- freshly ground black pepper
- fresh coriander, roughly torn, to garnish (optional)
Phew that was a long list I know, but trust me, making your own curry sauce from scratch is worth it, and you can always make extra sauce to freeze, so that next time you fancy it all you have to do is add the chicken, making it a quick and easy low fat dinner.
- Cut the chicken into bite-sized pieces, season with black pepper and put them in a non-metallic bowl. Stir in the yoghurt, cover with cling film and chill for 30 minutes but ideally 2–6 hours, though I know that’s not likely unless you get organised.
- Heat the oil in a large, non-stick saucepan, add the onions, garlic and ginger. Cover and cook over a low heat for 15 minutes until very soft and lightly coloured, check them frequently and stir every so often so they don’t stick.
- Once the onions have softened, stir in the crushed cardamom seeds, cumin, coriander, turmeric, chilli powder and bay leaf. Pinch off the ends of the cloves into the pan and throw away the stalks. Cook the spices with the onions for 5 minutes, stirring constantly.
- Stir in the flour, sugar and ½ a teaspoon of salt, then slowly pour the water into the pan, stirring constantly. Bring to a gentle simmer, then cover and cook for 10 minutes, stirring occasionally to get a nice smooth sauce.
- Remove the pan from the heat, take out the bay leaf and blitz the onion mixture with a stick blender until it’s smooth. The sauce can now be used right away or cooled, covered and chilled until 10 minutes before serving. If you’ve made extra this is when you split it up into potions and freeze.
- If you had allowed the sauce to cool, bring it back up to a simmer, add the chicken and yogurt mixture to the sauce and then stir in the creme fresh. Cook this until the chicken is tender and cooked through, stirring regularly, this should take about 10minutes, but check the chicken by cutting into it before serving.
- Season to taste and then serve with rice and a coriander garnish.
It’s a bit of a long one, but it’s worth the time and effort, this recipe is packed with flavour and even has a good deal of heat behind it. It’s a real Korma, so don’t be surprised if it doesn’t taste like the ones you get from the takeaway.
I have a confession to make up until last Wednesday, I had not really cooked in 2013, that’s 16 days without doing any real cooking, I’m ashamed. I mean I cooked on new years day, and did the big roast but after that nothing real until the 16th. This is partially due to the fact that I’d been with excessive amounts of family and friends and stuff had been pre cooked for those days, it’s partially due to the fact I had a bad cold for about a week, and so ate very little but it’s mostly to do with the fact that the people I am lodging with are on a health kick. Why is the latter so important? Well I don’t know how to cook low-fat healthy food! I like cream, butter and cheese, I like the fat on my meat, and I’ve never been good at judging what is in meals. Up till now all I knew was that if you replaced cream with low-fat creme fresh it was healthier.
See I know that this is healthy
So I have had to have a little think, a break from cooking where I planned recipes etc, to makes sure what I was making was low-fat. In the mean time the people I have been living with cooked, they have the hairy dieters book, and let me say, it is fantastic in fact I am rather tempted to put a review on here. First though, we shall have one of the first things I cooked in 2013, and it’s healthy!
Spinach and feta filo Pie
Ingredients serves 4
- 2 onions halved and chopped
- a little olive oil
- 500g chopped spinach, fresh or frozen
- 2 cloves of garlic crushed
- nutmeg
- 200g feta cheese (low-fat if you choose)
- 2 eggs beaten
- 4-6 sheets of filo pastry or there abouts.

What to do if you have any left over
- Heat the oven to 200C/fan 180C/gas 6.
- Cook the onions in a little oil until soft and turning golden. Add the garlic and cook for a couple of minutes. then if using fresh spinach, add in batches and cook until wilted. If using frozen defrost and then stir in.
- Allow this mixture to cool then tip into a bowl leaving behind any excess moisture. Give it a generous grating of nutmeg. then mix in the feta, and eggs, then season.
- Using a non-stick springform cake tin, about 20-22cm, placed inside a roasting tin, so that any mixture that leaks out doesn’t burn to the bottom of your oven. Brush the inside with olive oil and lay a sheet of filo in the tin, letting excess hang over the sides, brush this with oil and add another layer, repeat until you have 3 layers.
- Spoon in the spinach mixture and then fold the excess edge over the top. Now with the remaining filo, cute into about 3cm squares, brush with a little oil and scrunch them up like little twists, then place the twist on top of the pie. Cover the whole top with twist like this.
- Bake in the oven for 20-30minutes or until the filo has gone crisp and golden brown. Then leave to cool for 5 mins, press out and slice to serve.

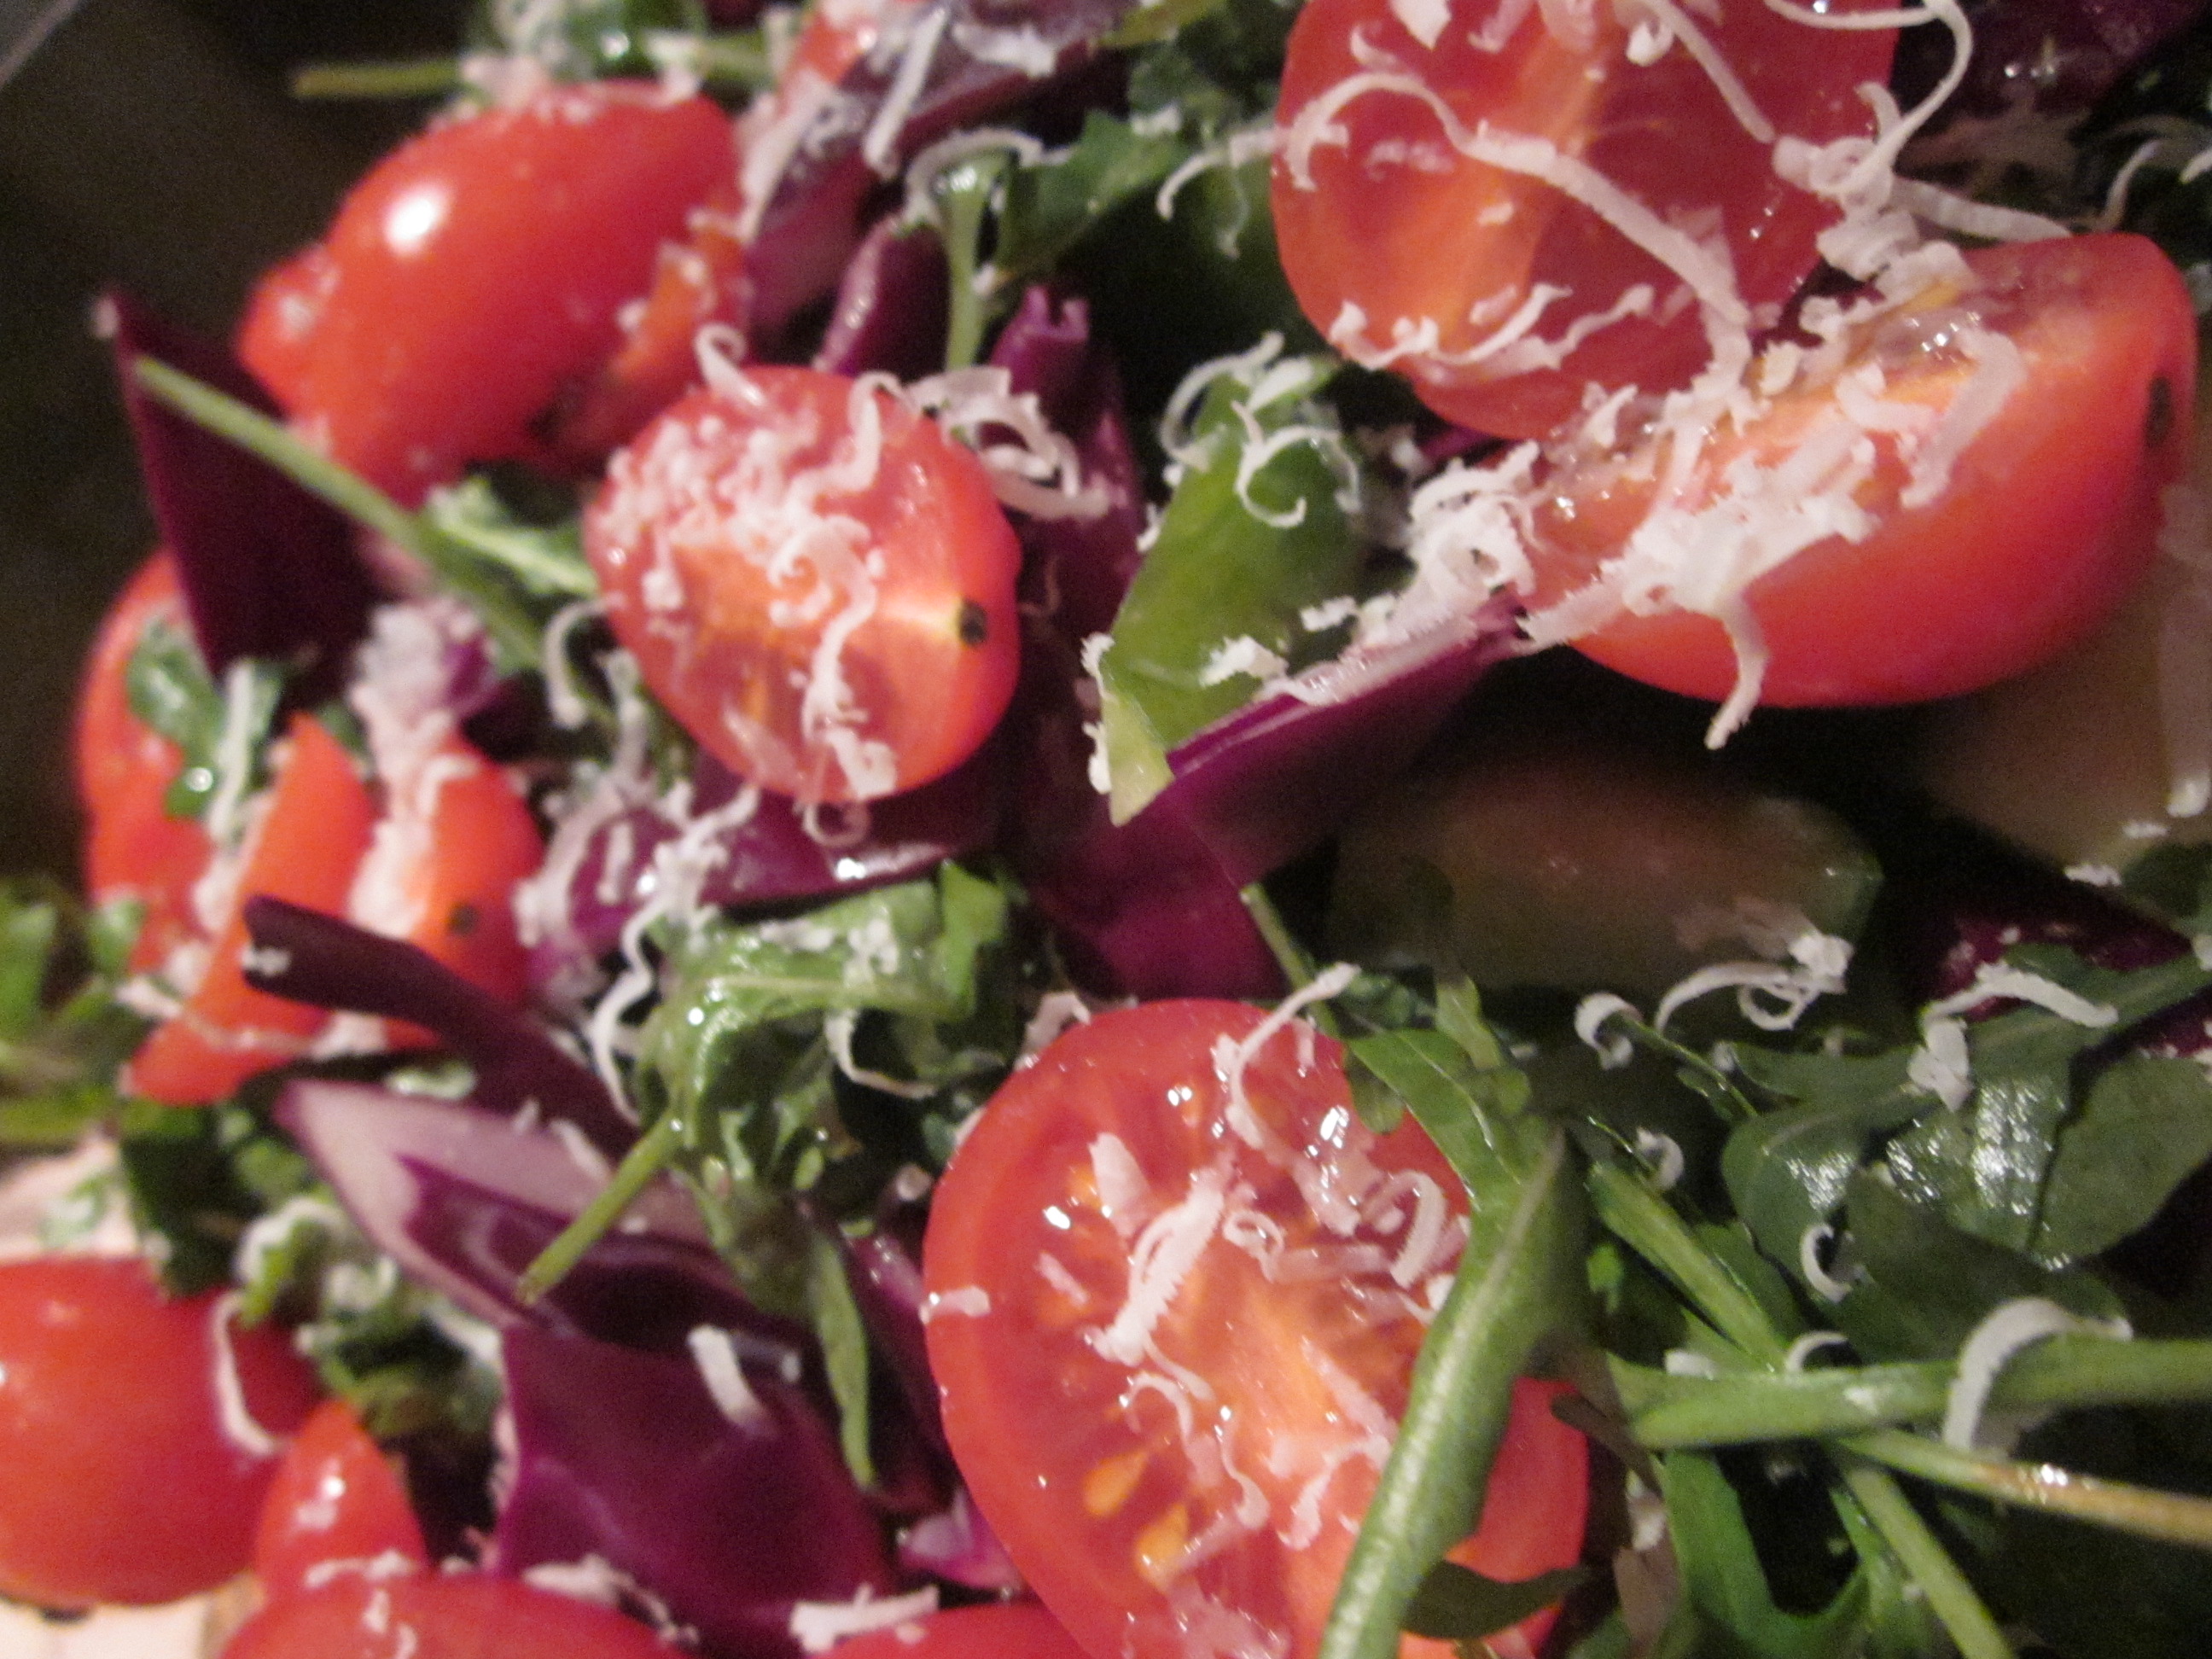
Plates of filo pie
We worked out that if you use low fat feta this should be about 350-370 kcalories per quarter, and served it with a simple salad of rocket, red cabbage, plum tomatoes and cumber with a balsamic dressing and light dusting of parmesan, as seen in the picture at the start of this post.
I never thought I would love anchovies, I mean the first time I tried them on a pizza I thought they were overly salty and overpowered everything else. Someone should warn you, that anchovies on a pizza are not like anchovies in cooking, anchovies that you have cooked into a meal are silky smooth, tangy and add so much depth to a meal.

A gorgeous can of anchovies
I first used anchovies when making the spicy topping for Jamie Olivers cauliflower risotto (fantastic by the way), made by frying anchovies and bread with garlic and chilli, I knew I liked three of those ingredients so I thought why not. I loved it. This then grew into a pasta sauce, having bought anchovies to use with the risotto I then realised I wanted something quick, so using the three best ingredients from the topping, anchovies, garlic and chilli along with red wine and a tin of tomatoes I made a sauce that will knock your socks off. The anchovies and garlic give it depth and the chilli adds a fiery heat, and then the wine softens it back down. I cannot do it justice in writing all I can say is make it yourself. My sister loves this sauce so much that when she once came to visit me in St Andrews, we went to every shop searching for them, we went to Aldi, Morrisons and Tesco, No Luck. We went to the delis, Mitchells, Butlers, Tail end, NO LUCK. Finally we went into kerachers fish and game shop, and there we bought a small Styrofoam cup of fresh anchovies! I’d never used fresh anchovies before but I persevered on and it made 5 Tupperware’s of fantastic sauce. So Laura this recipe is for you.
Anchovy pasta sauce
Ingredients
makes enough sauce for 2-4 people depending on how much you love it
- one tin of anchovies, or about half a jar if you buy them like that
- Three cloves of garlic crushed
- Chilli flakes
- A tin of tomatoes
- one large glass of red wine (Something you might drink yourself)
- Parmesan
- Pasta tubes, or something with ridges that hold the sauce.
- Start off the pasta, the sauce takes as long to make as the pasta takes to cook.
- Tip the anchovies oil and all into a non stick sauce pan and separate, allow these to melt down to nothing, add the chopped garlic and the chilli flakes as much or as little as you like. Be warned it may spit at this point.
- After the garlic has softened add the tin of chopped tomatoes and stir well. Allow to reduce slightly then add the glass of wine, stir again.
- Allow the sauce to reduce down by about a third or a half, if it seems too dry add more wine or some of the water from the pasta, it should coat the pasta with a thick layer of sauce.
- Serve by mixing with the pasta and adding a generous grating of parmesan. Enjoy.
Fish fingers! They’re not exactly gourmet but sometimes you just want something simple something relaxed, something to make you happy, and for me Fish fingers tick all those boxes. In first year when I used to have to do labs, I’d come home on a Wednesday and spend the evening frantically writing, I only interrupted this for food, sometimes chinese with my flatmates but more often a fish finger sandwich, it would be perfect for perking me up.
More recently I got a hankering for fish fingers, and had a bit more time so I thought I’d play around. Instead of trying to make my own, because who am I kidding, I’d never manage to get the balance right on the crumb, I tried to plate them. I present fish fingers like they were restaurant quality.

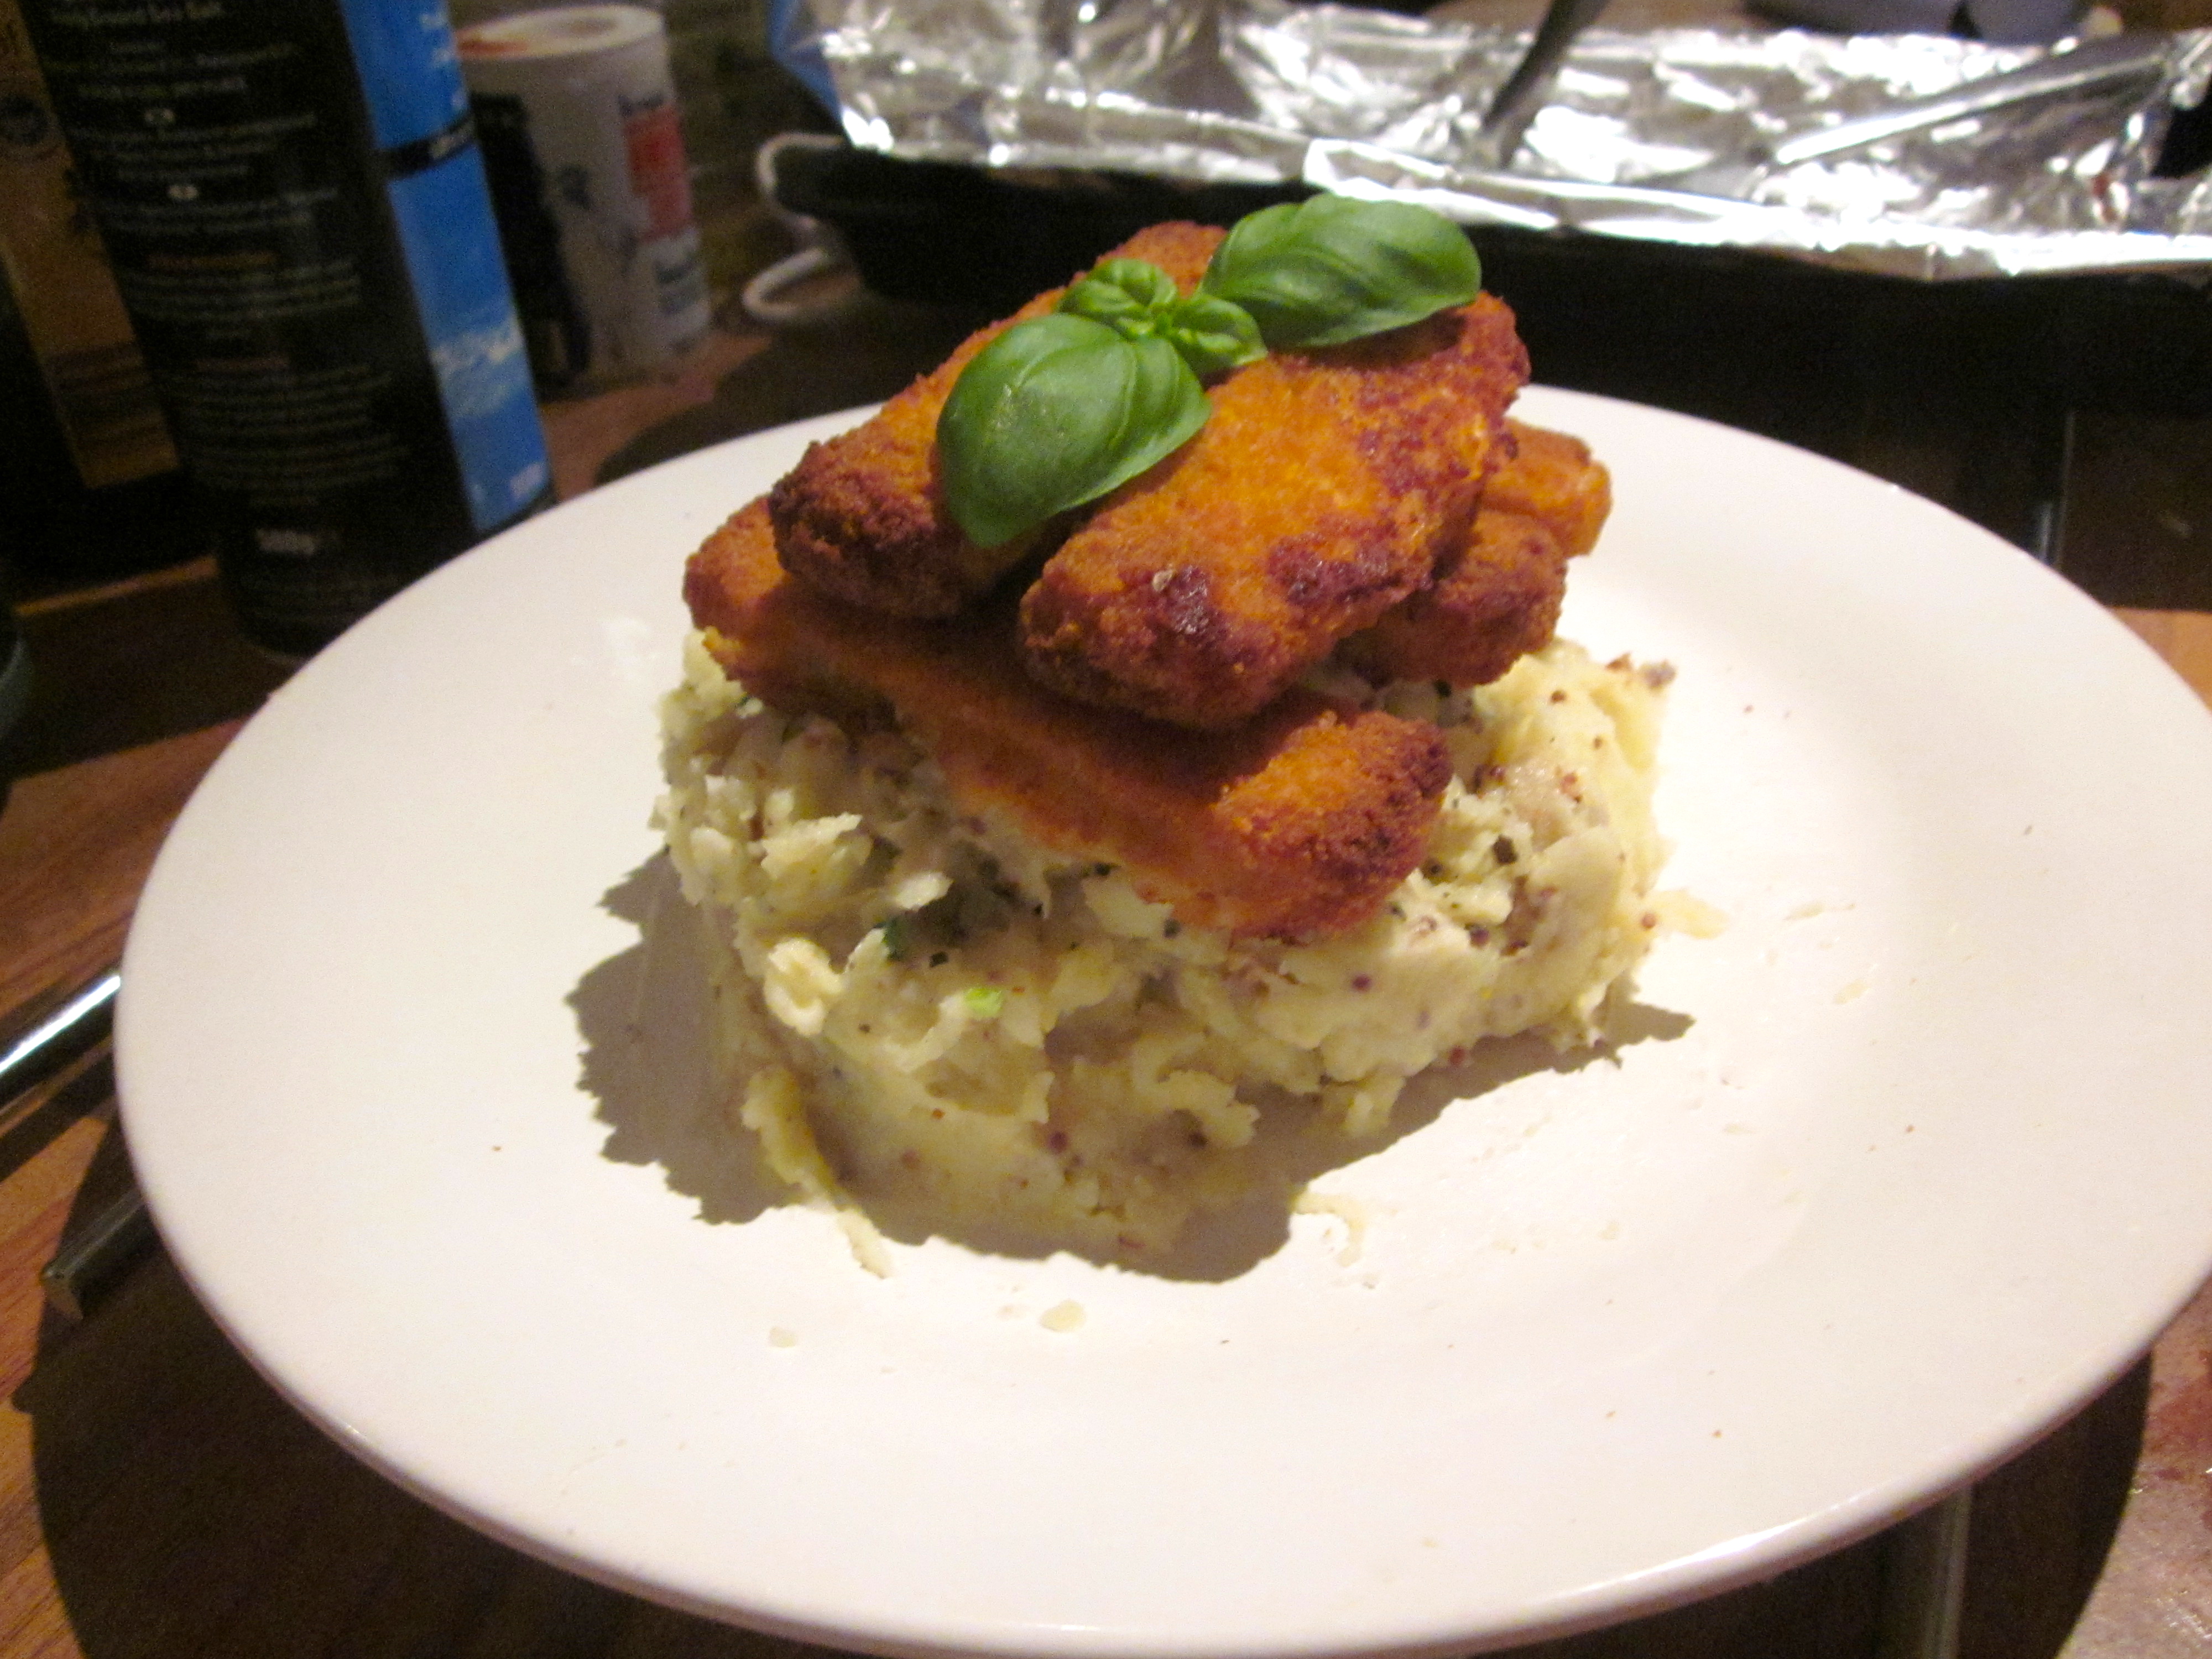
Fancy fish fingers
What you see before you is a fish finger stack on a bed of mustard and basil mash, with just a hint of garlic. I did play around a little with the mash I must admit, and I was surprised that the mustard and the basil went together so well, tangy and sweet at the same time with a soft undercurrent of roasted garlic as a pleasant aftertaste. There you have it though fancy fish fingers! If you’ve had fun playing around with plating, let me know comment with links or pictures!
Fun Plating
